
How to install WTFM
Updated about 2 months ago
Browse All
WTFM puts a wtfm command on your computer that turns Claude Code or Codex into a technical writer for your users' docs. Installing it takes one line in your terminal — the installer brings its own Node.js, so you don't have to set anything else up first.
What you'll need
- macOS or Linux on ARM64 or x64 — on Windows, use WSL
- Claude Code or Codex, installed and signed in
- Git
- A connection to the internet, so the installer can download the release
Steps
Run the installer
In your terminal, run this line:
curl -fsSL https://wtfm.sh/install | bash
It downloads a checksum-verified release with its own Node.js and installs the wtfm command into ~/.local/bin (no sudo), and it adds supportpages as an alias.
Put wtfm on your PATH
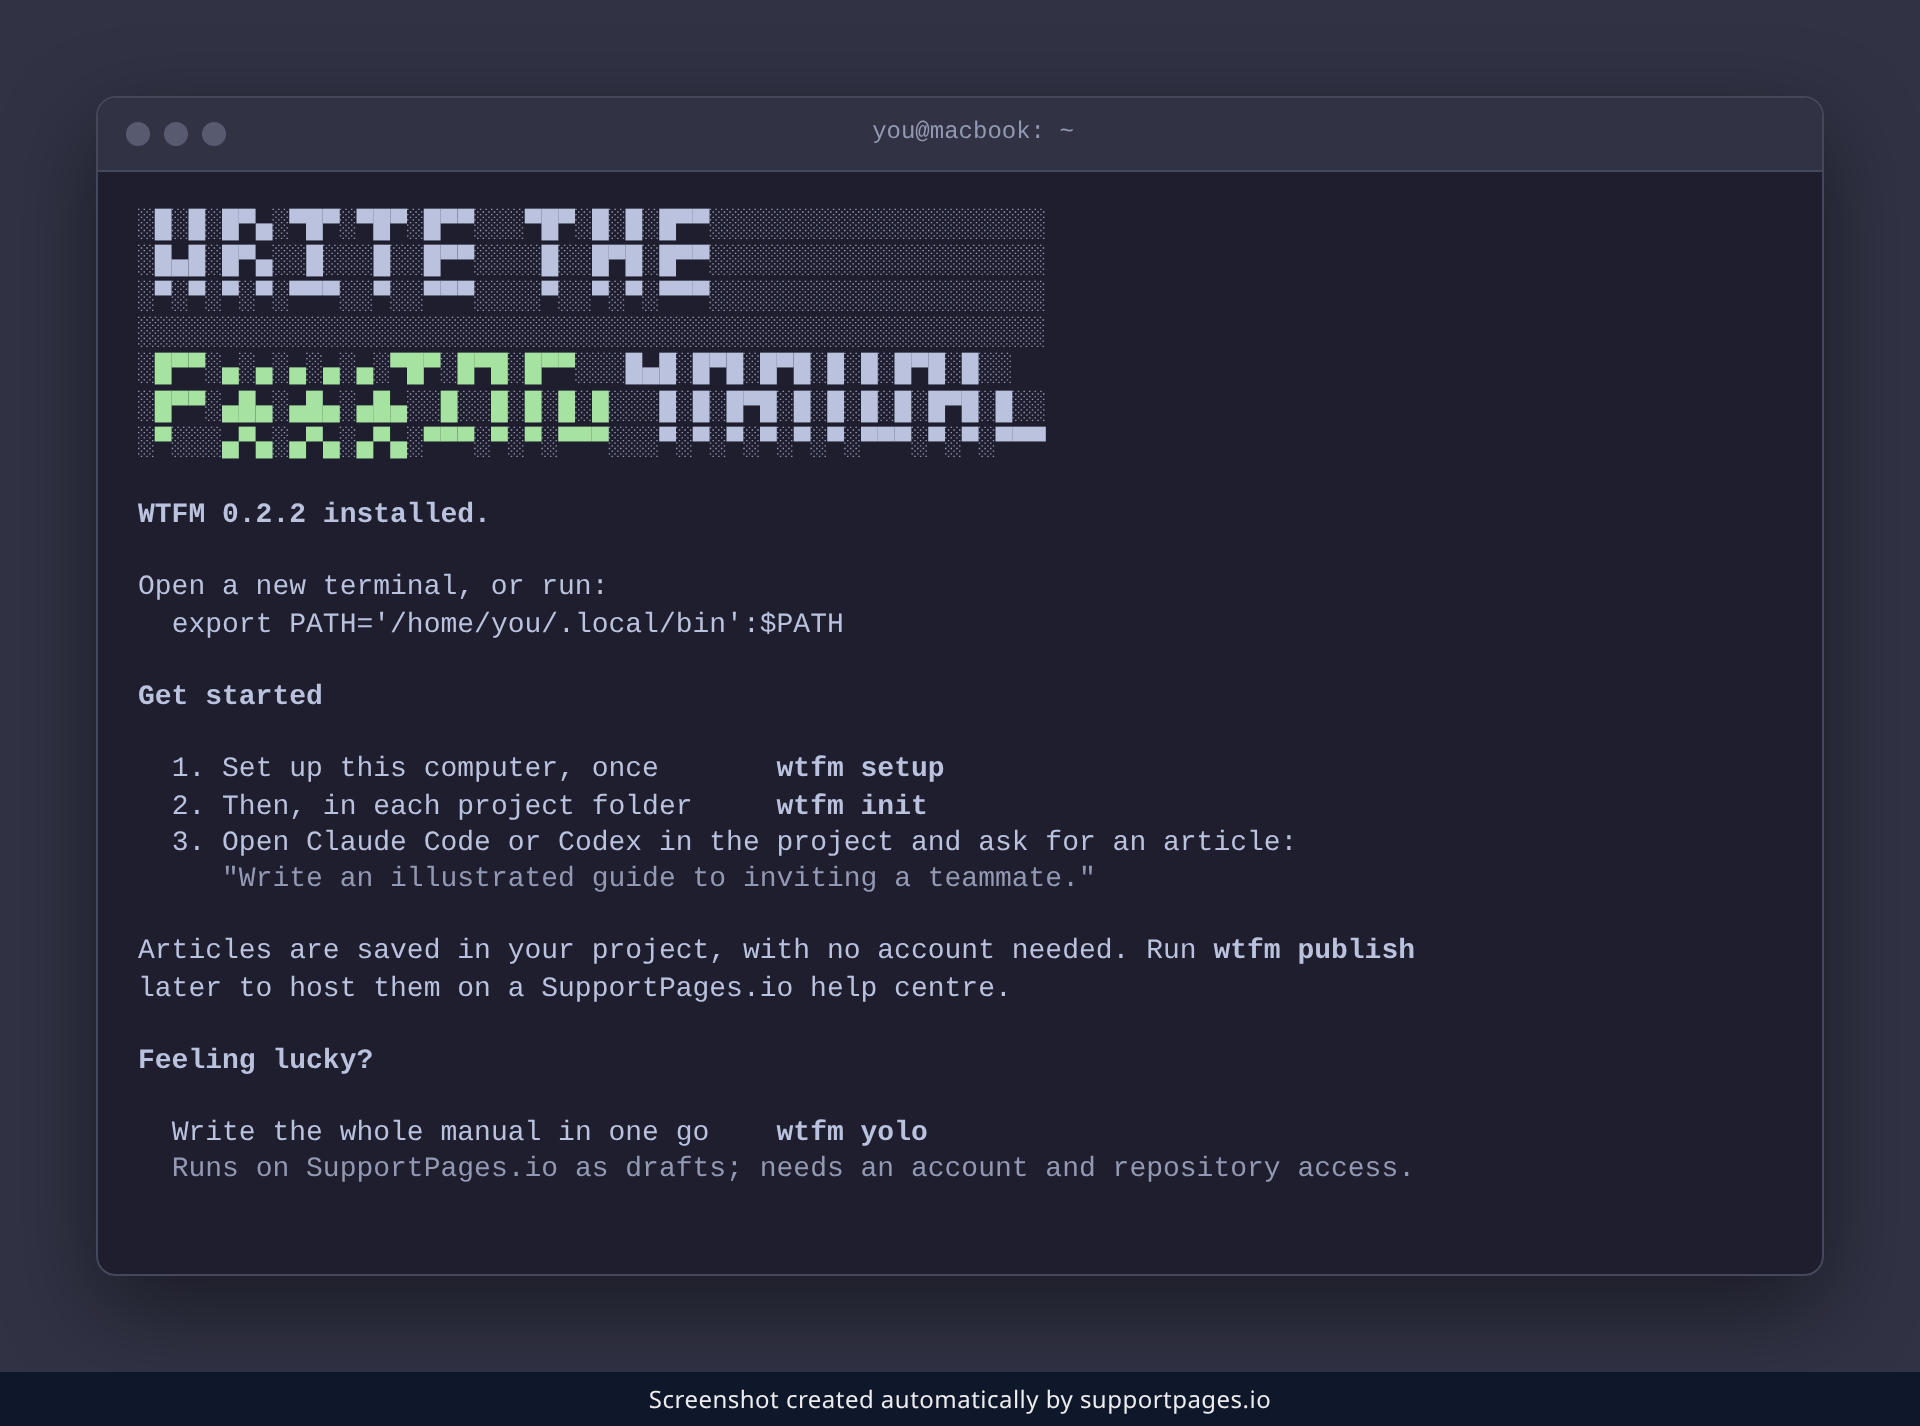
The installer puts wtfm in ~/.local/bin and adds that folder to your PATH for you when it can. If it asks first, accept, then open a new terminal — or run the export PATH line it prints.
Check it worked
Confirm the command is ready to use:
wtfm --version
You should get the version number back, like 0.2.2.
Next steps
-
Run
wtfm setuponce on this computer to connect your coding agent and download the screenshot renderer. -
Run
wtfm initinside each project folder you want documentation for. - Then open Claude Code or Codex in the project and ask for an article — for example, "Write an illustrated guide to inviting a teammate."
-
Installed a while ago? Run
wtfm updateto move to the latest release.
Summary
The wtfm command is on your computer. Run wtfm setup once, then wtfm init in any project, and your agent can start writing illustrated guides for your users.
Was this article helpful?
Built with supportpages.io, a help centre generator for developers — written from your codebase.
Have a question?
Search our articles, or ask and get an answer straight away.