
How to update WTFM
Updated about 2 months ago
Browse All
WTFM looks for new releases on its own, but you can grab the newest version whenever you like. One command does it, and your settings and articles stay exactly where they are.
Before you start
- WTFM installed on this computer
- A terminal window
- An internet connection
Steps
Run the update
Open your terminal and run wtfm update.
wtfm update
WTFM looks up the newest release and installs it, leaving your settings and articles untouched.
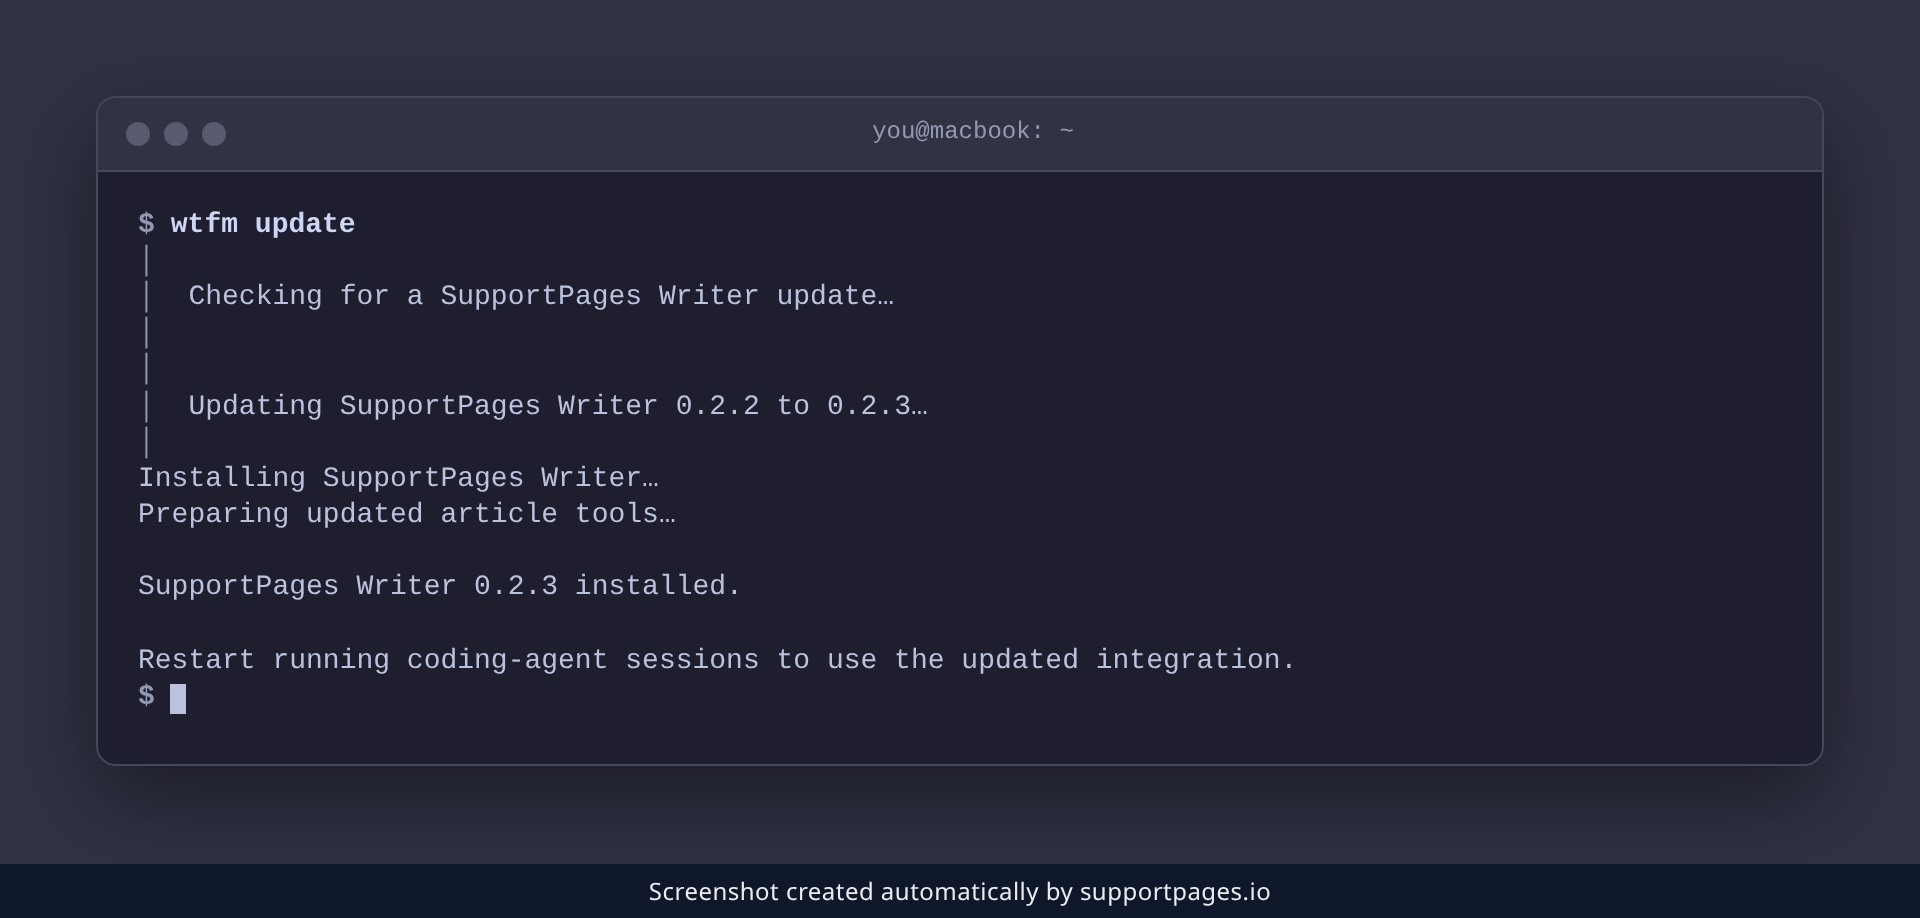
If there's nothing new
If you're already on the newest release, WTFM tells you so and stops. There's nothing else to do.
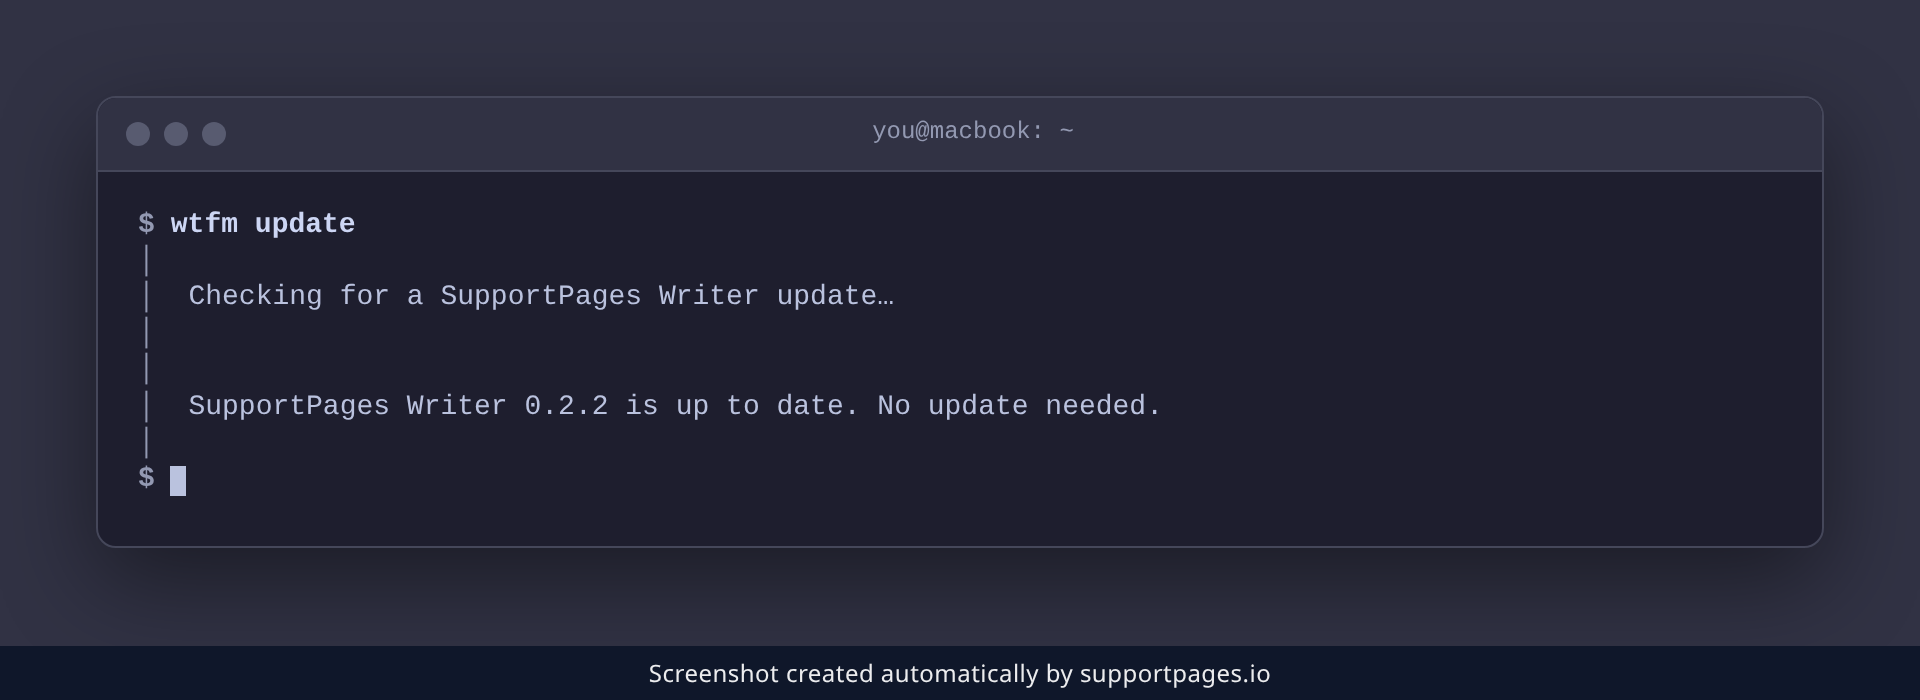
Confirm the version
Want to see which release you're running? Just ask WTFM.
wtfm --version
It prints the version number you're now on.
Restart your coding-agent sessions
The update message reminds you to restart any coding-agent sessions you have open. Close and reopen Claude Code or Codex so it picks up the new integration.
Tips
- WTFM checks for new releases once a day and installs them in the background, so you often won't need to run this by hand.
-
To turn automatic updates off, set
SUPPORTPAGES_AUTO_UPDATE=0. - Your articles stay in your project folder and your settings stay in your config directory — updating never touches either.
Summary
Run wtfm update whenever you want the newest release. WTFM swaps it in without touching your settings or articles, and restarting your coding-agent sessions is the only follow-up.
Was this article helpful?
Built with supportpages.io — an AI documentation generator.
Have a question?
Search our articles, or ask and get an answer straight away.