
How to create a video walkthrough
Updated about 2 months ago
Browse All
A video walkthrough turns a finished guide into a short narrated video that clicks through the same steps, with captions. WTFM builds it from an article you have already written, so readers who would rather watch than read still get there.
Prerequisites
- A finished article on your SupportPages.io help centre
- This computer connected to that help centre and signed in
Steps
Start from a finished article
Video walkthroughs are built from one completed guide that is already on your help centre, so pick the article you want on video first. In your coding agent, name it — for example, “How to invite a teammate”.
Ask for the video walkthrough
Ask your coding agent to create a video walkthrough and name the article you chose. Something like “Create a video walkthrough for How to invite a teammate” is enough. Your agent checks your account and help centre, then starts rendering the video in SupportPages.
Finish any setup it asks for
If your account or help centre is not connected yet, your agent opens a browser page and waits there. Sign in, pick the help centre, and approve the request; the walkthrough carries on by itself once you are done.
Bring the walkthrough into your project
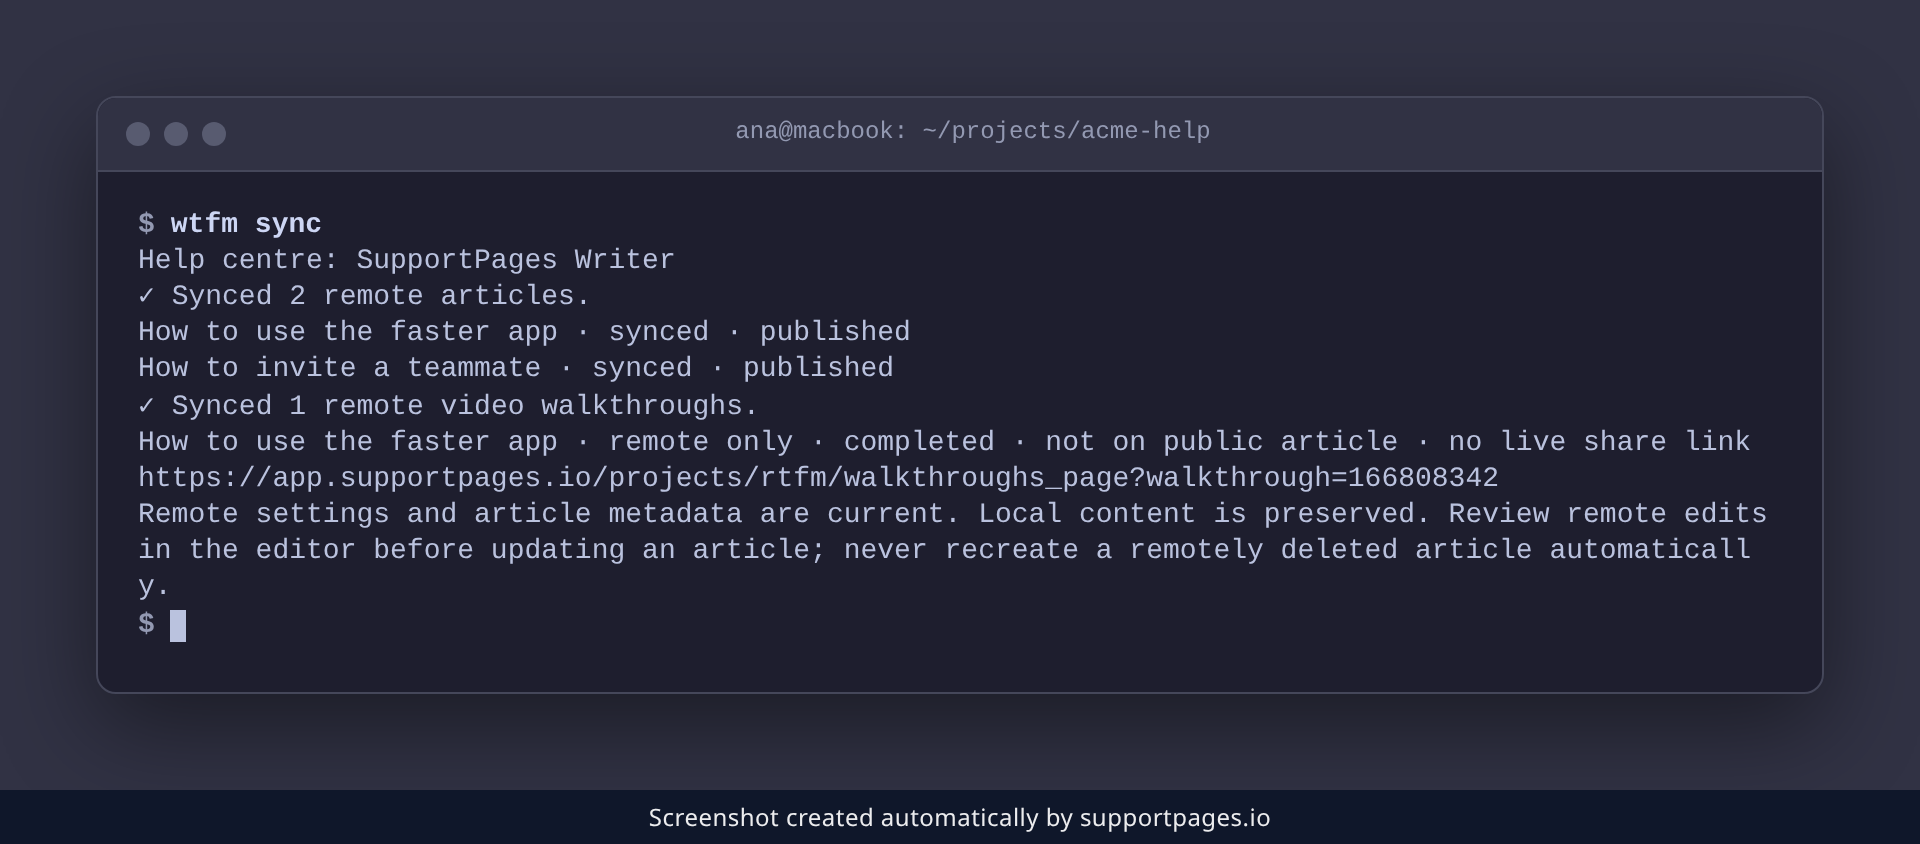
Run wtfm sync to pull the new video into your project. The listing shows the walkthrough with its status and a private review link.
wtfm sync
Tips
- A walkthrough is built from one article, so split a long guide into shorter pieces if you want shorter videos.
- Videos stay private until you share them, so you can watch a draft as often as you like.
-
If the video is still rendering, run
wtfm syncagain later to see when it is ready.
Summary
Name a finished article, ask your coding agent for a video walkthrough, and share the result once the narration and captions sound right.
Was this article helpful?
Made by supportpages.io — turning pull requests into automated user documentation.
Have a question?
Search our articles, or ask and get an answer straight away.