
How to set up WTFM on this computer
Updated about 2 months ago
Browse All
WTFM lets Claude Code or Codex write illustrated guides straight from your product's source. You set it up once on a computer — after that, every project just needs its own quick setup.
Prerequisites
- A terminal on macOS or Linux (on Windows, use WSL)
- Git installed
- Claude Code or Codex installed and signed in
Steps
Install the wtfm command
Open your terminal and run:
curl -fsSL https://wtfm.sh/install | bash
The installer puts wtfm in ~/.local/bin and offers to add it to your PATH. If it does, open a new terminal to carry on.
Start the setup
Run the once-per-computer setup:
wtfm setup
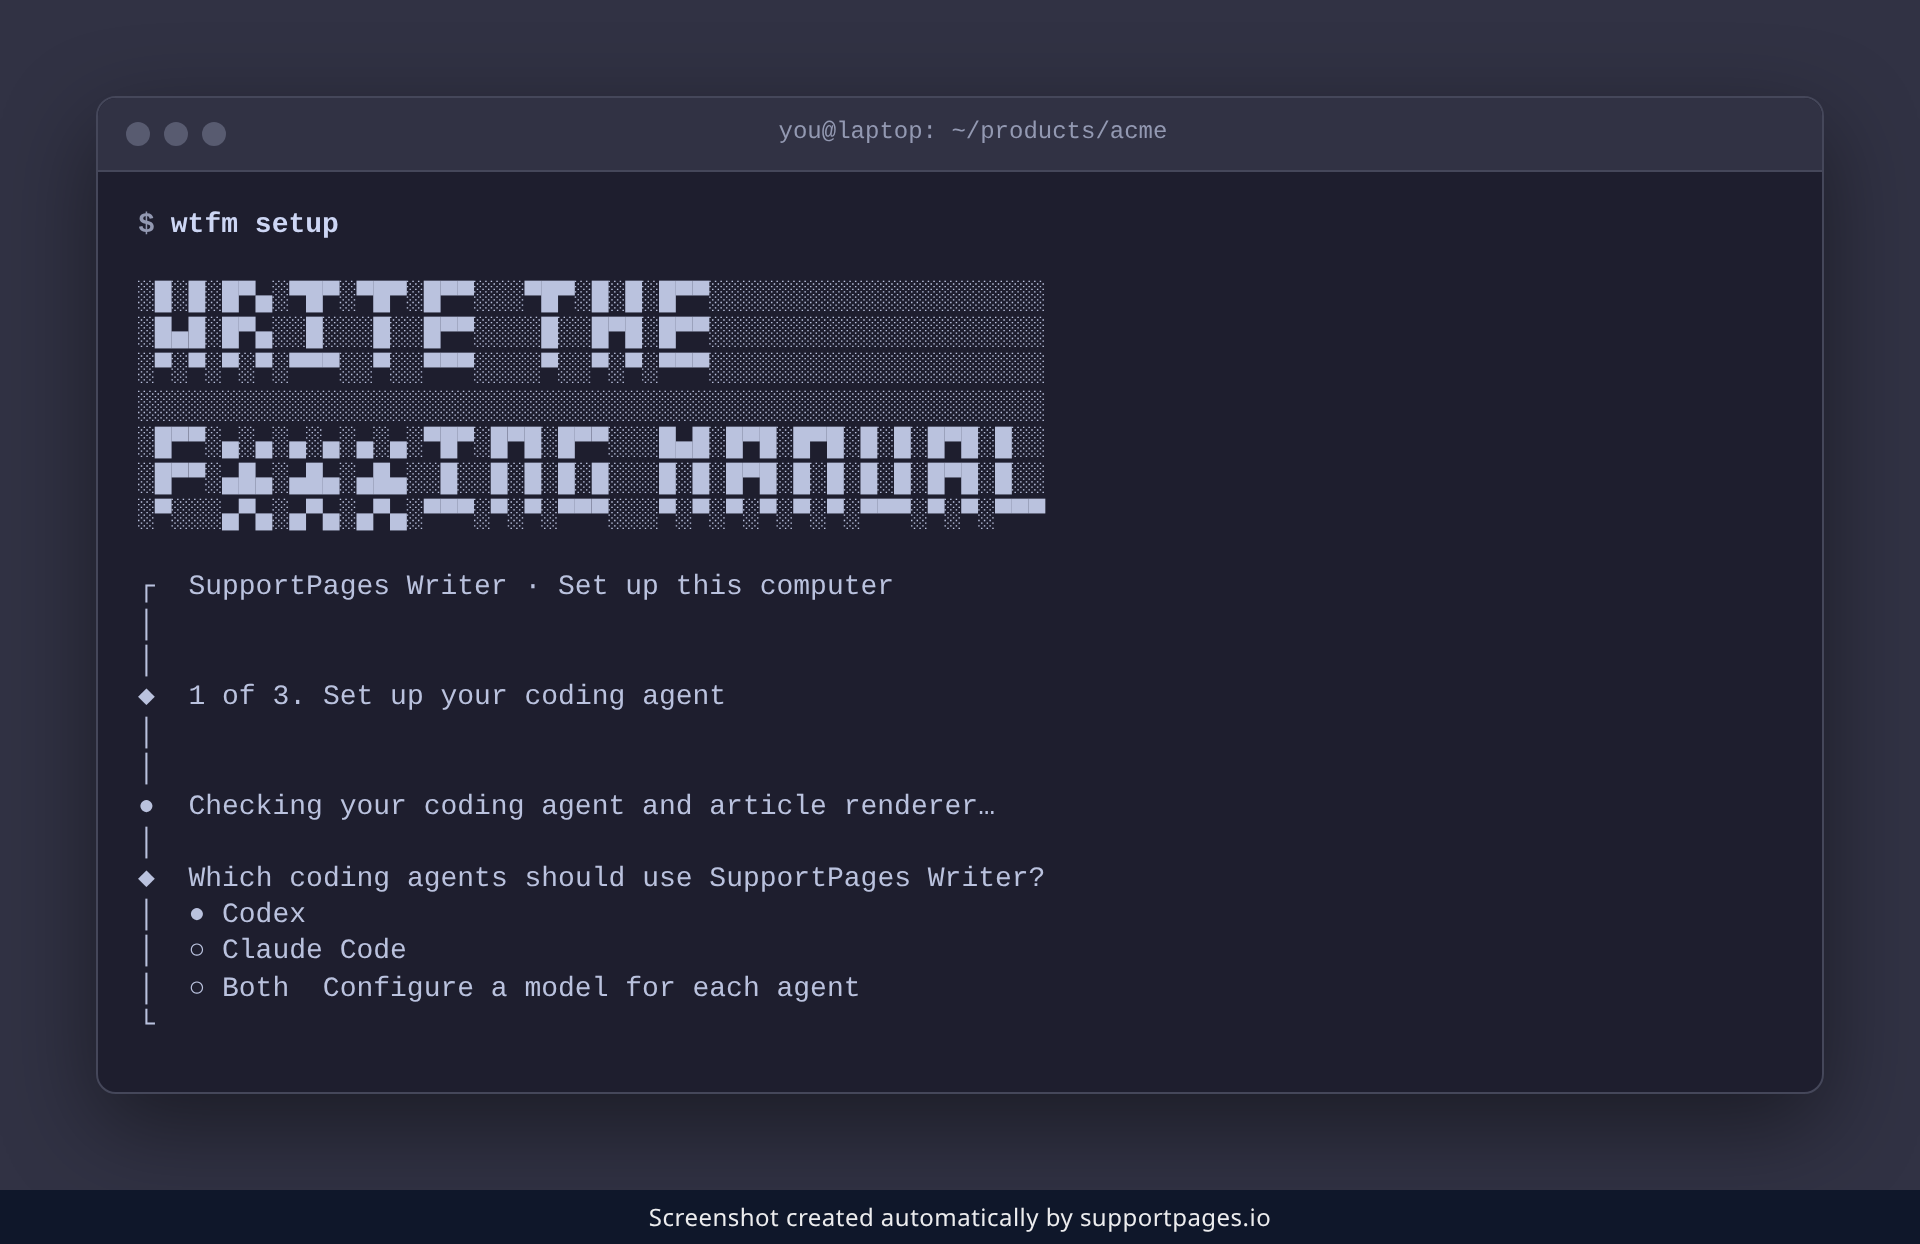
WTFM checks your coding agent and article renderer, then asks a couple of questions. Nothing here is project-specific — you only do this on a new computer.
Pick your coding agent
If both Claude Code and Codex are installed, WTFM asks which ones should use SupportPages Writer. Move to the agent you want and press Enter, or choose Both to set up each one.
Approve the screenshot browser
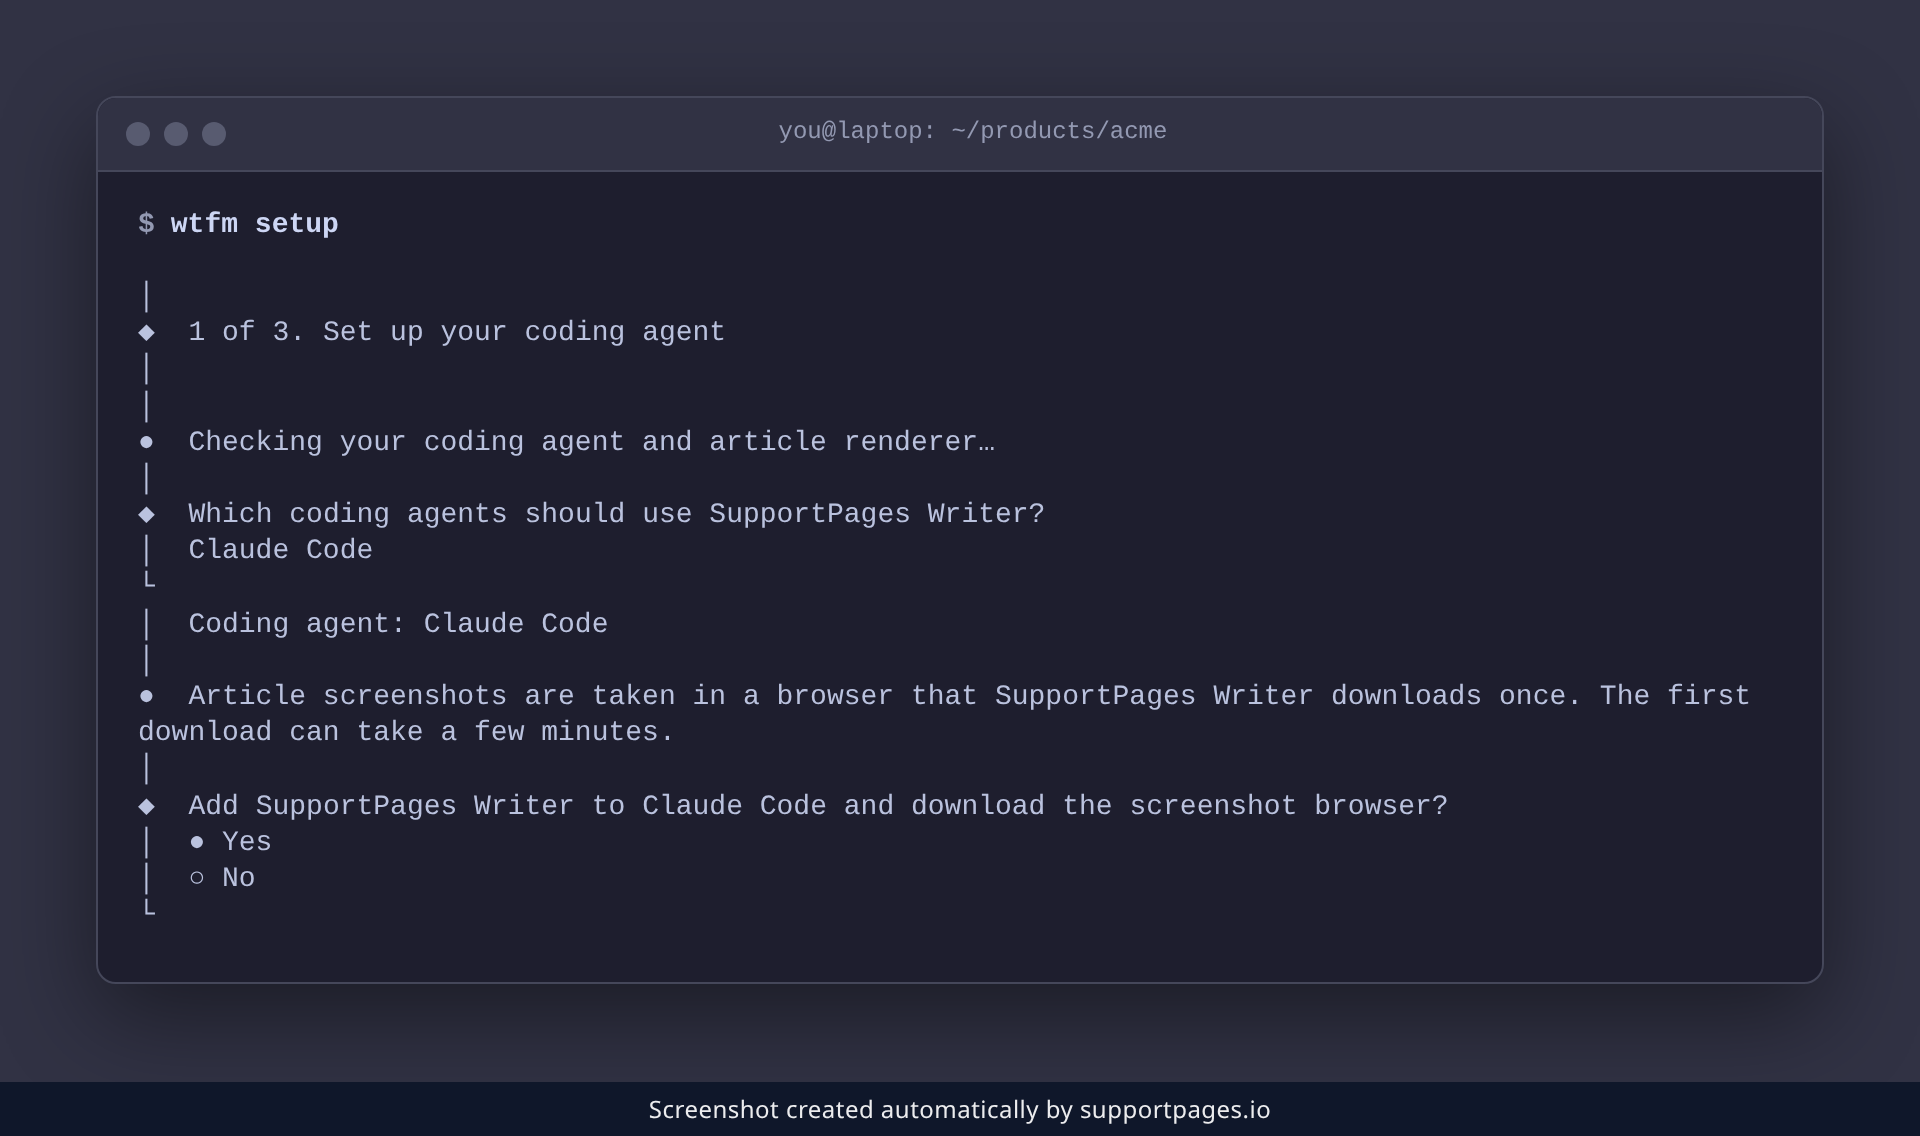
WTFM takes its screenshots in a browser it downloads once. Press Enter to accept the download, and give it a few minutes the first time.
Choose where your articles go
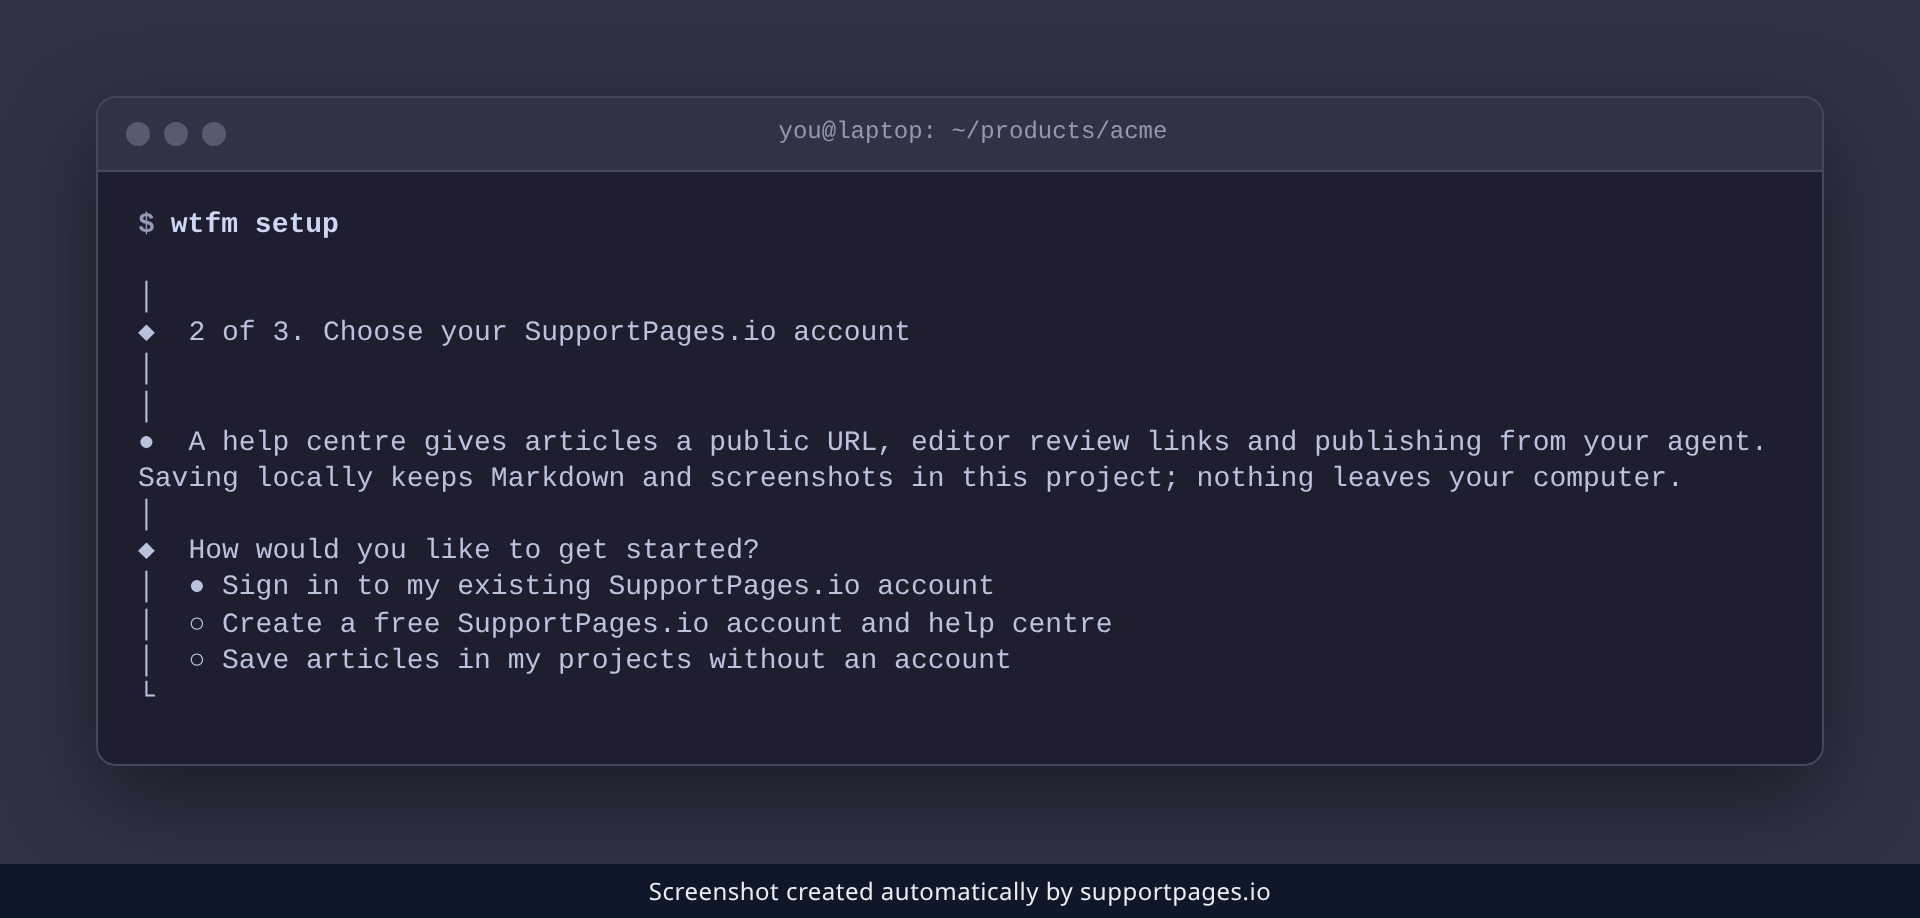
WTFM then asks How would you like to get started? Sign in to an existing SupportPages.io account, create a new one, or keep everything on this computer with Save articles in my projects without an account.
You're set up
When the wizard finishes, it shows This computer is set up and points you at the next step: run wtfm init inside a project to set WTFM loose on it. Restart any Claude Code or Codex sessions that were open during setup so they pick up the new integration.
Tips
-
Already run this before? Running
wtfm setupagain is harmless — it reports what is already installed. -
Run
wtfm doctorany time to check that everything is installed and connected.
Summary
You installed the wtfm command and ran the once-per-computer setup, which connected your coding agent and installed the article renderer. From here, set up each project with wtfm init and ask your agent for a guide.
Was this article helpful?
Created with supportpages.io — AI help centre software.
Have a question?
Search our articles, or ask and get an answer straight away.